& as an added bonus the fabric is totally reusable.
We're all about the new house at the moment. The kids are so excited about their new rooms.
The smallest needed a toy box to store her super favourite things & so we set about covering an old Australia Post box. This is a great project to tackle with kids as they can handle much of it alone & therefore really feel as if they've made it themselves. I thought you might enjoy a "how to" for a bit of rainy holiday fun.

Select your fabric & trim the box up. You need to keep the "lid" of the box as this will become the base.

Position your box so that the fabric folds up the sides & down the inside of the box (just reaching the base of the box on all sides). Cut to size.
Tip: we used a single doona/duvet cover & it was the perfect width for the standard Australia Post mailer, so we only needed to cut a bit off the length.
Spray both the fabric & the box with spray adhesive.

Smooth all the sides flat & secure with pegs. Once you've done that you can manipulate the corner fabric so that it gathers nicely. Once you're happy with the placement just masking tape the fabric down to secure.

Now just cover the base piece of the box (formerly the lid trimmed to fit) with a contrasting fabric & push it into the bottom of the box.
I say that this is temporary but I made one of these for the big girl 8 years ago & it's still going strong!
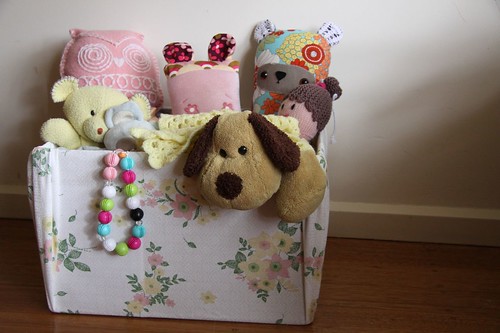
I love her treasure selections...owl by me, crochet granny square blanket by a family friend, peg bear by One Red Robin, knitted ballerina by Aunty Pat & the pink softie is Loobylu's project from Meet Me at Mikes The Book.