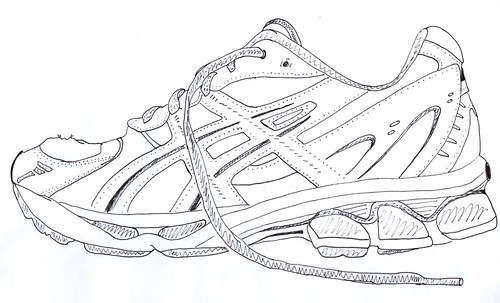
(for non-drawer types)
Step 1:
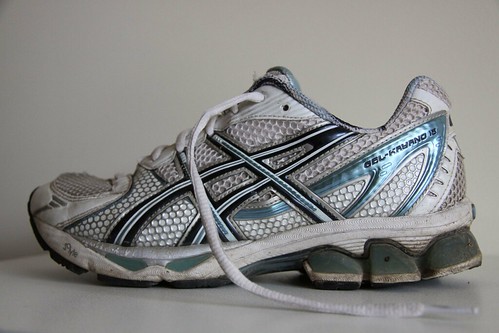
Take a photo of what it is you want to embroider.
Step 2:
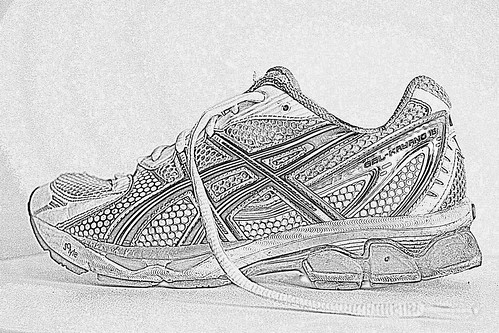
Use either photoshop or picnik to turn your image into a pencil sketch. You could stop here if you want your embroidery project to be "photographic".
If you don't have access to either of these applications you could just photocopy or turn your image black & white.
Step 3:
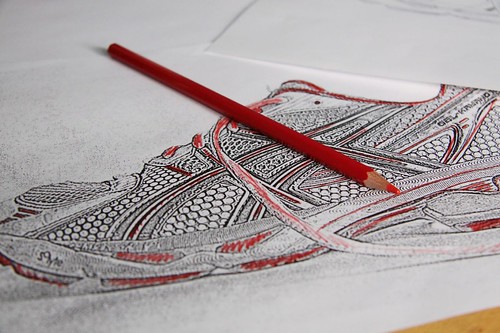
Print your pencil sketch image.
Muck around with your coloured pencils to work out which elements you want coloured.
Step 4:
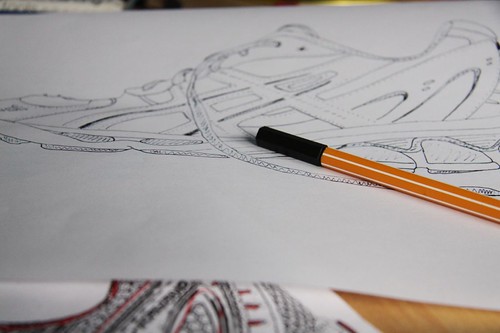
Using a light box or window trace your design with a fine liner.
Step 5:
Scan & size your image according to your project requirements.
Step 6:
Then trace onto your fabric using a water soluable marker.
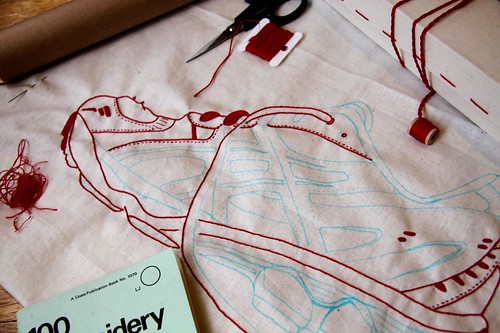
Begin stitching.