Sweet Fabric:
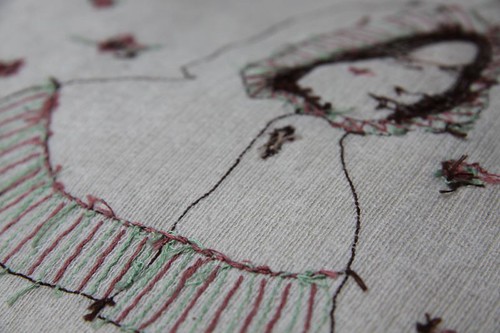
embroidery
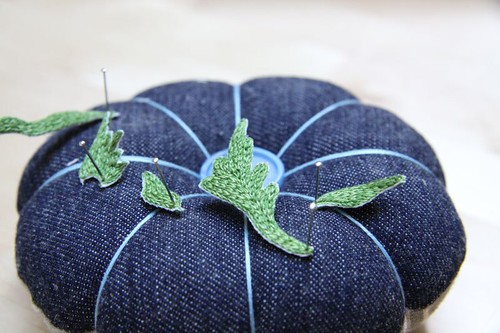
My creative space...
My creative space...
More of the ponies...
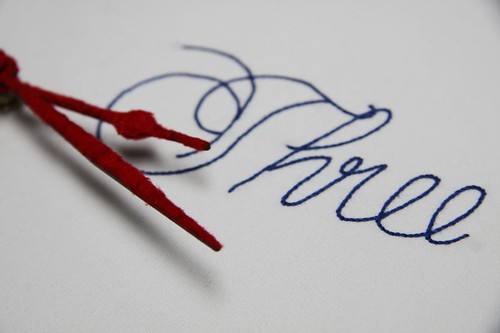
More of 2011...
In the post...
My creative space...
Stitch with me...
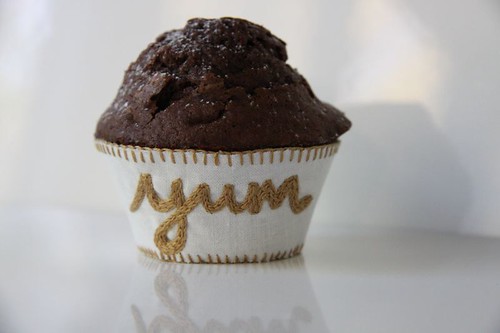
Cupcake cosy...
Beris & Co...

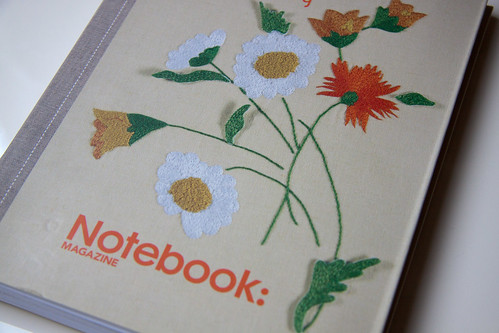
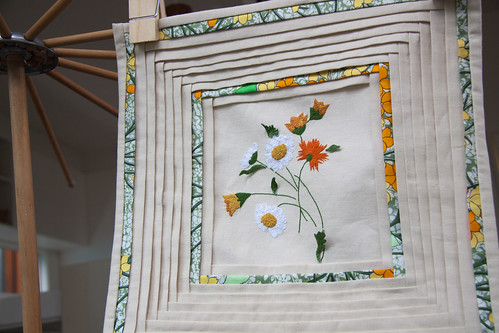
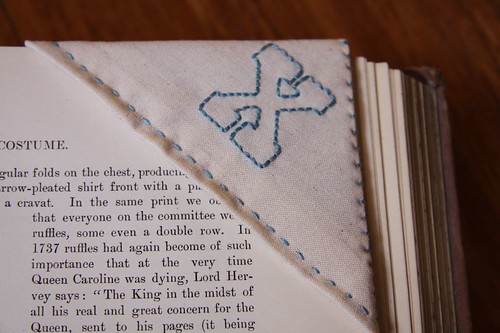
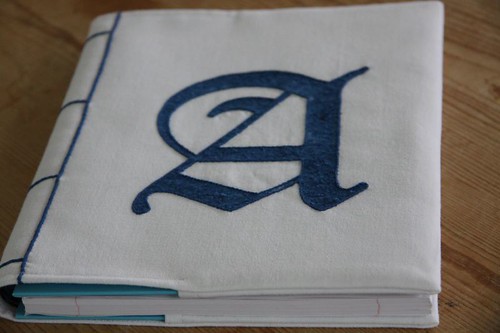
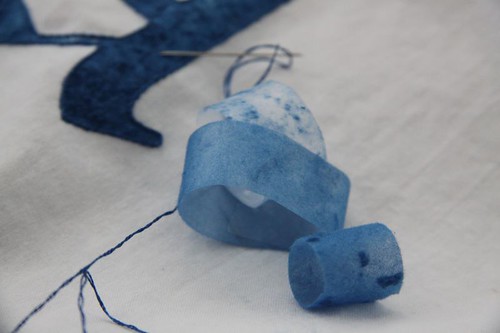
Hand bound & hand embroidered...
My creative space...
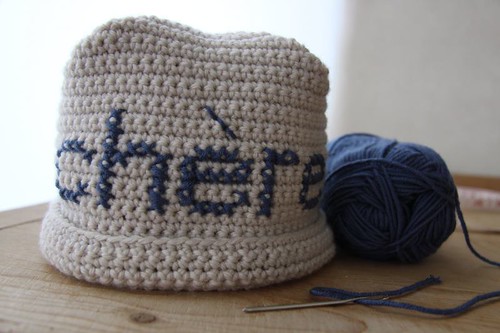
How to make a crochet & cross stitch beanie...
What lies beneath?...
Ready & waiting...
Flocked Tick Tock...
How to iron embroidery...

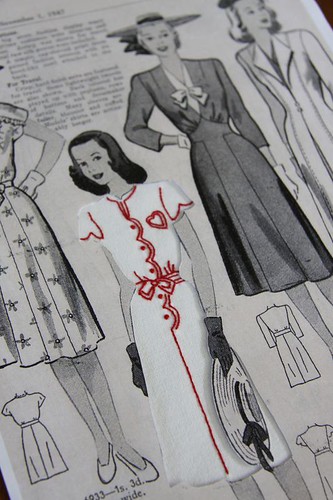
Embroidered fashion...
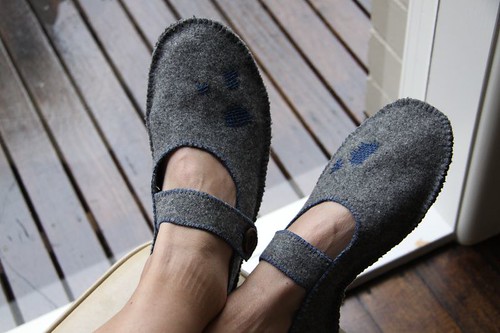
Urchin slippers...
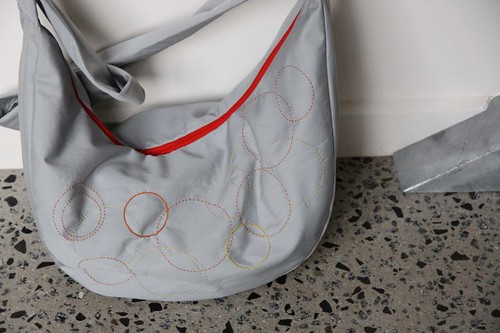
Hand stitched handbag...
My creative space...