Sweet Fabric:
recreated
A Grand Plans

1st Heliers Street Abbotsford in Melbourne

I actually made something...
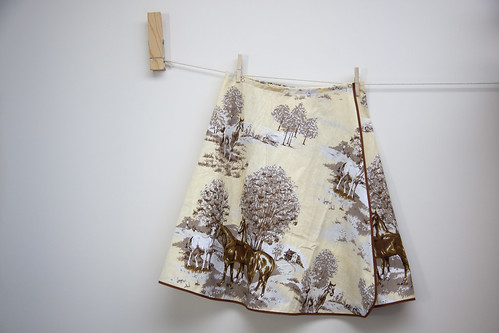
The pony skirt...
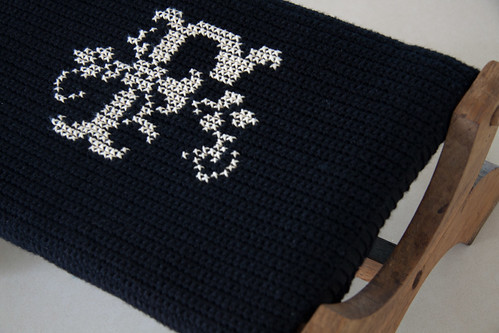
F is for...
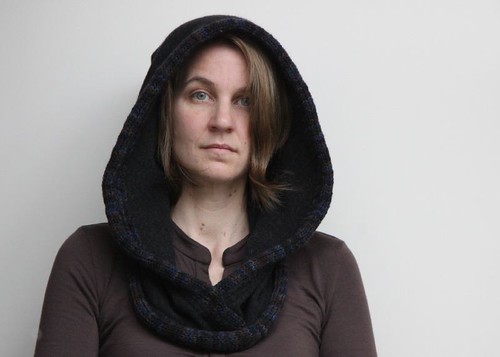
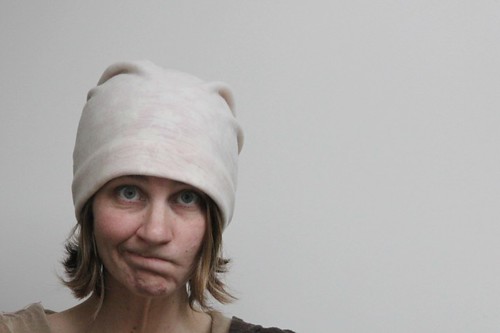
Black Huppari...
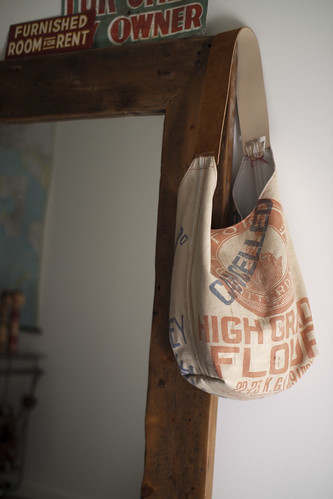
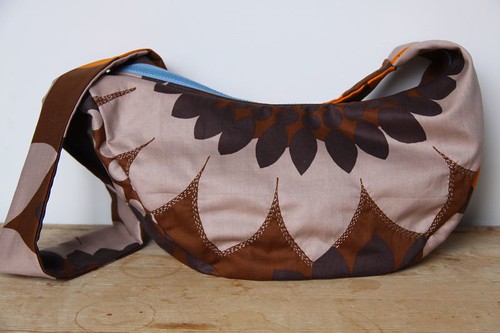
The perfect bag revisited...
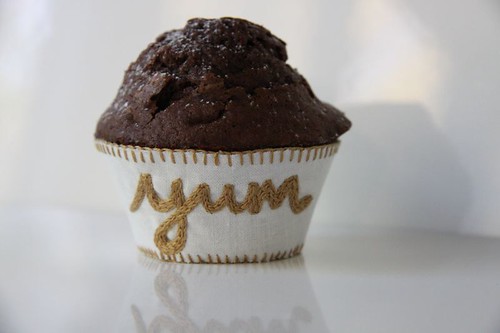
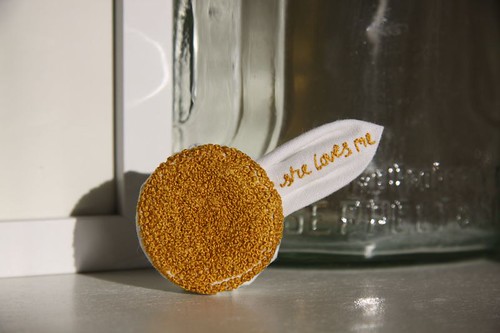
Cupcake cosy...
Noticing - i'm a team player...
Circled...
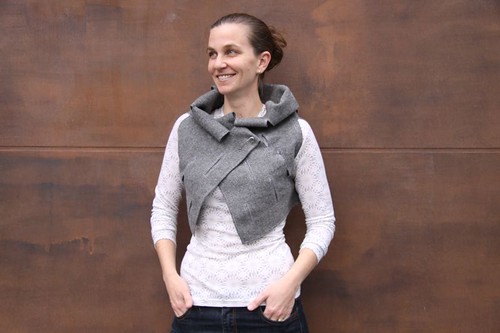
Slashed vest...
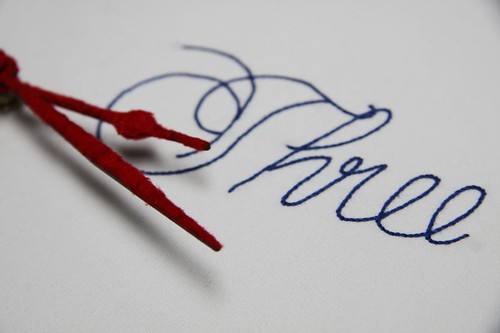
Flocked Tick Tock...
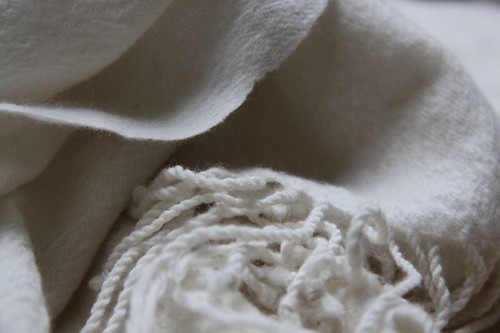
Shoulder blanket...

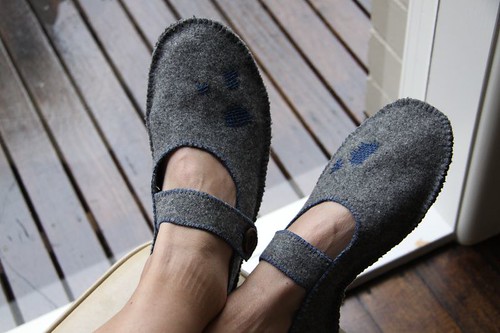
Urchin slippers...
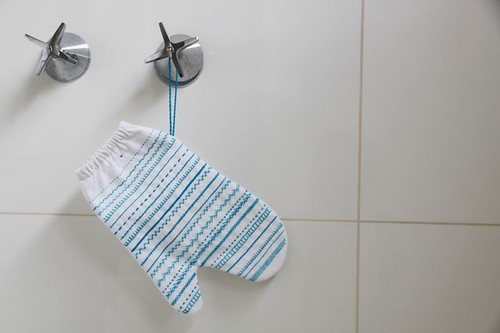
Shower mitt...
Coming up daisies...
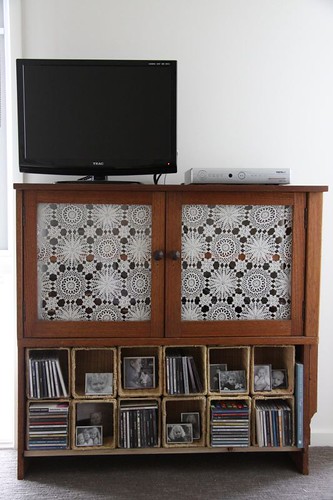
Crochet & timber...
My creative space...

Handmade laptop stand...

The sprint for home...