Sweet Fabric:
slideshow
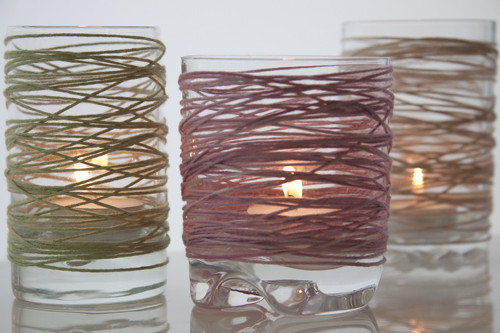
How to: wrapped tealights...
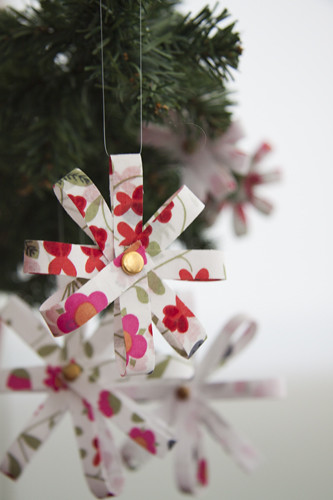
How to make no sew decorations...
How to make doily covered soaps...

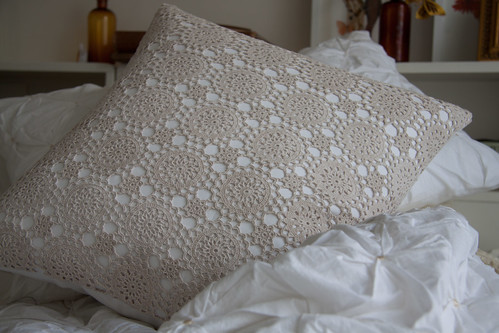
How to faker crochet cushion...
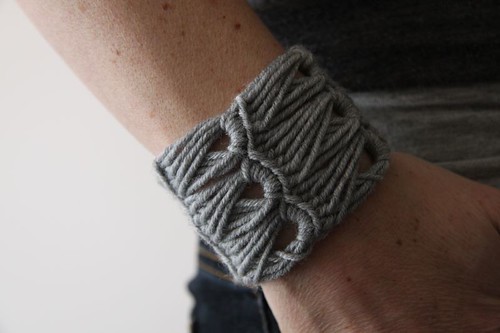
How to make the contortionist crochet cuff...
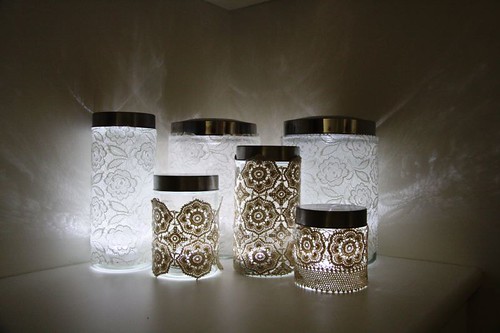
How to make pretty lights...
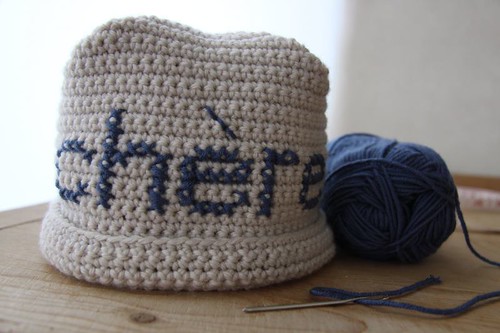
How to make a crochet & cross stitch beanie...
How to make a granny shrug...

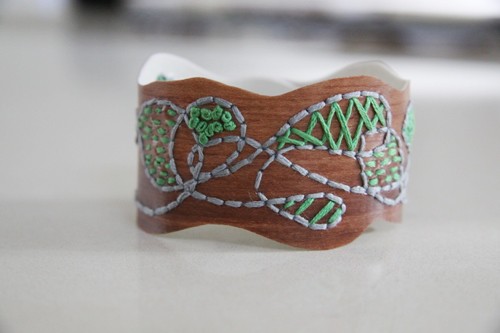
How to make a wrist cuff - faux wood & embroidery...
How to make a granny square necklace...

How to make a shoulder bag from a pillowcase...
How to: Simple Fabric Printing - Lacing Card Style...

How to make twisted cord...

How to make an embroidered carry all

How to make a toadstool pincushion...

How to make a pincushion by hand...


