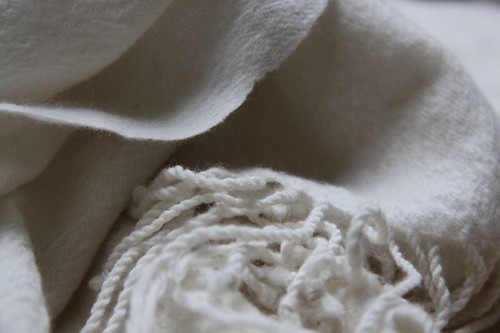
Sweet Fabric:
reverse art
Circled...
I just think of what I need...
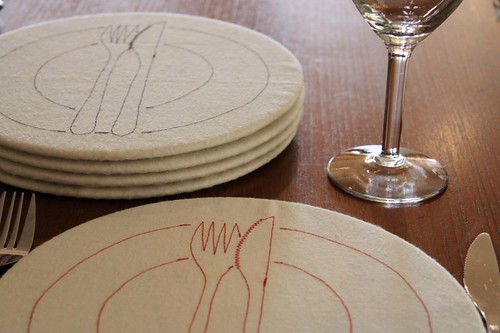
Reversible placemat cosy...
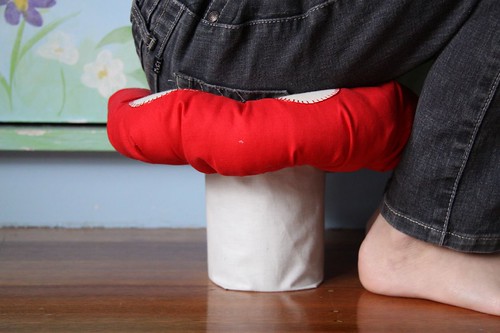
A toad stool...
Shoulda, woulda, coulda...
Crafty lazy susan...

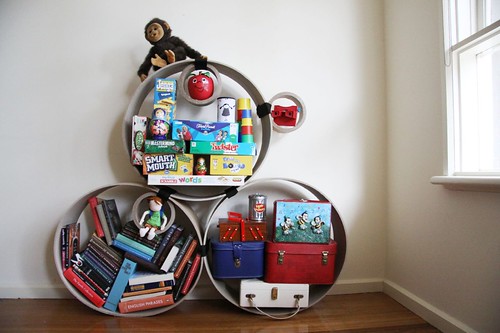
Make your own bookshelves for under $6...
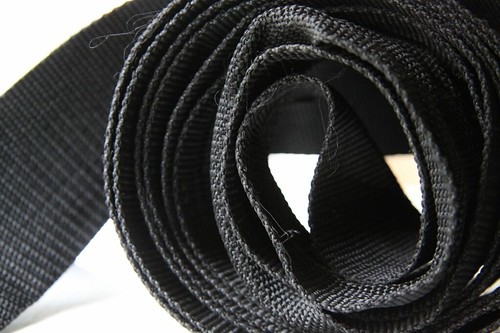
Buckle up...
The gifting spirit ...

How to: Simple Fabric Printing - Lacing Card Style...

Printing on fabric...

Embracing the wonk...

Pop...

Babushka...

Boomerang Beat Bag...

Music box gifted...

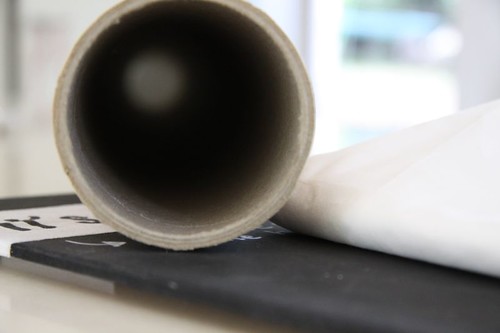
Tin Can Craft [Slide 16]...
![Tin Can Craft [Slide 16]...](https://blogger.googleusercontent.com/img/b/R29vZ2xl/AVvXsEi1UP2AmTv16UvZ9x2WfIZOR8ojTCgy5drVIoPz2m2cz1QMGsrOQ3PbaRKteE_Dw5RHSo9P5lw_FIxr8kbwMlWfP3epgugYWat8JRmjuUNCAA6dtDgOFthuX-arQeV46pWTpCtrrOwUw3E/s1600/Slide+16+Tin+Can+Music+Box+in+Progress.jpg)
SNAPits...

Sausage Dog Handbag...

I gave...


