Sweet Fabric:
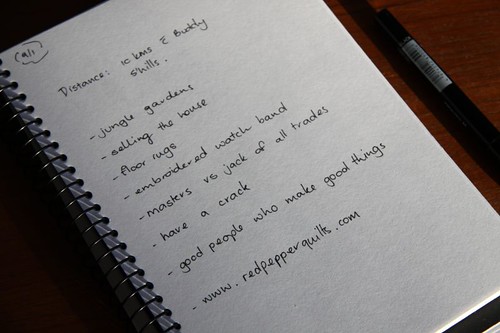
have a crack
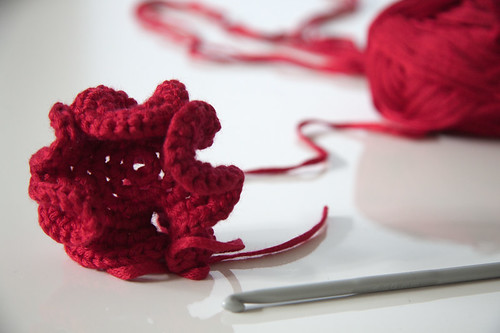
Hyperbolic without a maths brain...
Full...

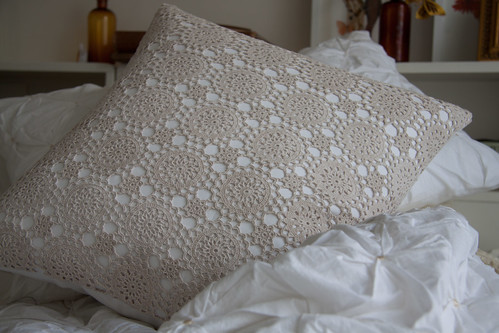
How to faker crochet cushion...
The gift...
How to make a granny shrug...

Test pattern...
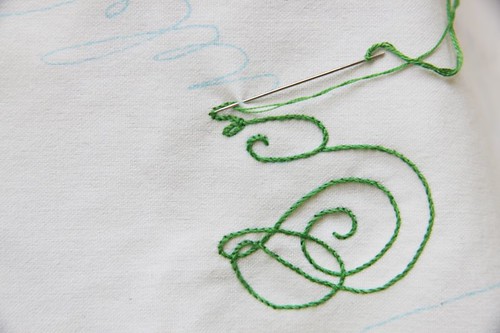
How to Stem Stitch (sort of)...
Crochet & timber...
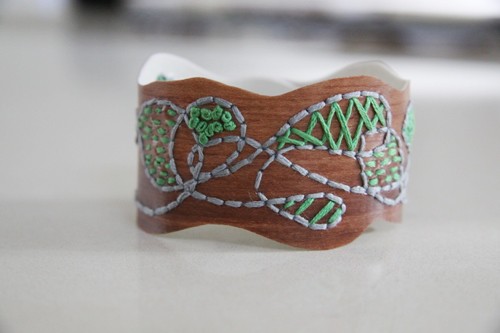
How to make a wrist cuff - faux wood & embroidery...
Good people...
Once daily...
Soldiers...
Weaving...

HAC circles...

Box floor cushion...

An invitation...

Old stomping ground...

Layers...

Scrappy fun...

About a boy...


