Sweet Fabric:
tutorial
How to make doily covered soaps...

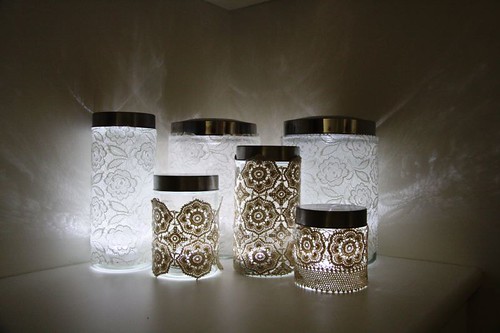
How to make pretty lights...
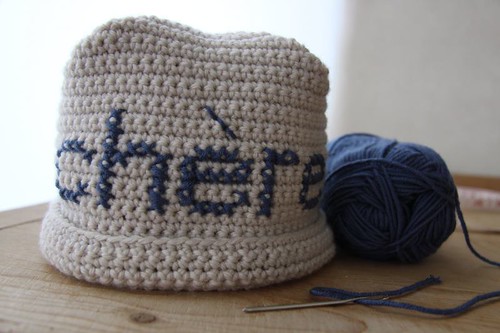
How to make a crochet & cross stitch beanie...
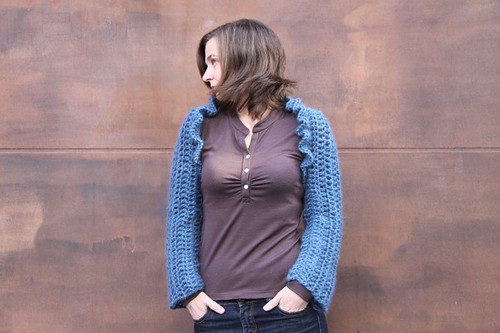
Smokey Sleeves Shrug...
How to make a granny shrug...

How to iron embroidery...

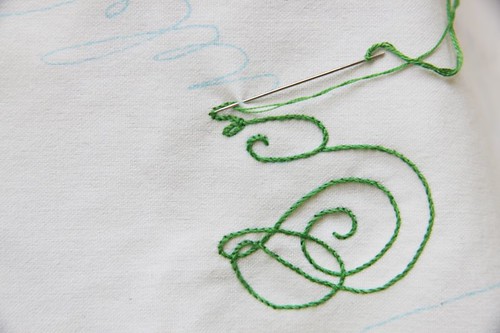
How to Stem Stitch (sort of)...
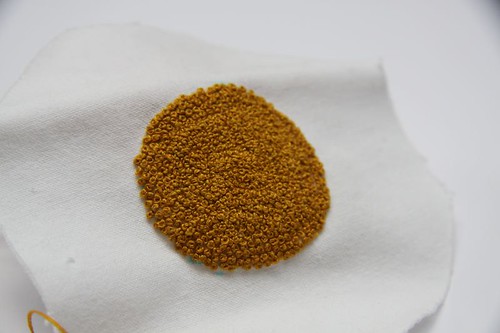
How to embroider a French Knot...
How to make a laptop &/or cookbook stand...

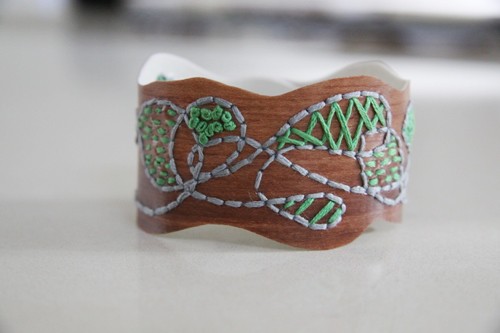
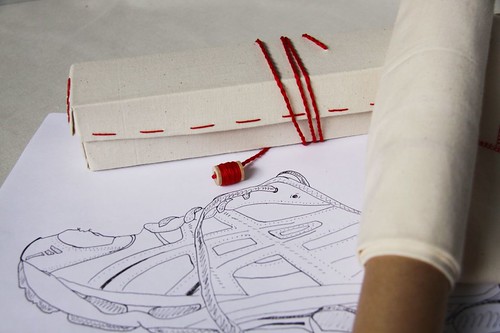
How to make a wrist cuff - faux wood & embroidery...
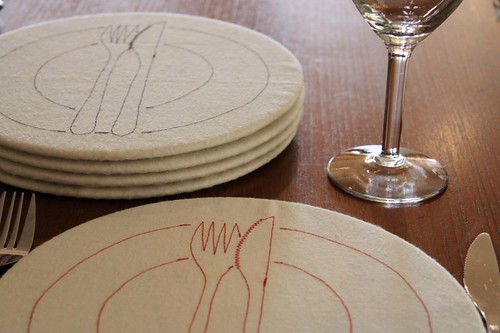
How to make a reversible placemat cover...
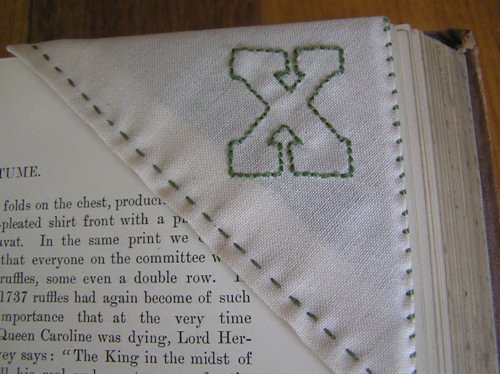
How to make a corner bookmark...
Scruncher or folder?...
How to make a granny square necklace...

How to make a fabric notebook cover ...

How to - Embroidery on dark fabric...

How to make a simple square pincushion...

How to fold a fat quarter...

Reworking & gifting...

How to make a shoulder bag from a pillowcase...


