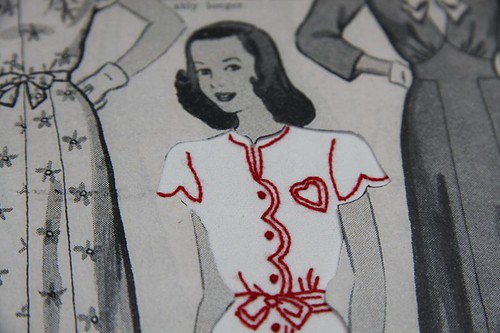
I've mentioned before that I never use a hoop. Even though I'm really careful & I stretch & ease as I stitch my finished pieces are often a bit puckered. They never look it do they? I'll show you why! This might be the totally wrong thing to do but it works for me. If you're a traditionalist & you're tsking at me now...I'm sorry & don't read on.
First of all you should know that I HATE ironing. I do not iron a single item of clothing. The iron is reserved strictly for crafty activity. When it comes to embroidery however, the iron is my very best friend.
Secondly, I always transfer my designs (or freehand draw them) with a wash out marker. I'm not snobby or loyal about the brand. Whatever is on offer is fine for me. That means that every piece of stitching I do needs a little bath before I press it.

Now prepare your ironing surface. You need a nice squishy towel. This will help absorb the moisture as well as protect your stitches.

Next pull your embroidered piece out of it's bath & give it a gentle squeeze to remove excess moisture. Place it FACE DOWN on the towel.

Now begin ironing the piece. Yes, while it's still wet. You are going to iron it dry. Use a dry setting on your iron & go slowly. Just waving the iron gently over the back of the work. Keep watching (& smelling) your work. Do NOT burn it. Once all the fabric is dry you might notice the stitches & fabric around the stitches is still a bit moist. That's OK, just leave it to dry lying flat.

This piece was fairly simple & really didn't show any signs of puckering but was certainly covered in wash out marker. If you're working on a larger piece I would suggest ironing from the centre of the work out. Smooth & stretch your embroidered piece as you go.