Sweet Fabric [Search results for embroidery]
My stuff featured elsewhere ...

How to - Embroidery on dark fabric...

A week of pillowcases...

Flocked Tick Tock...
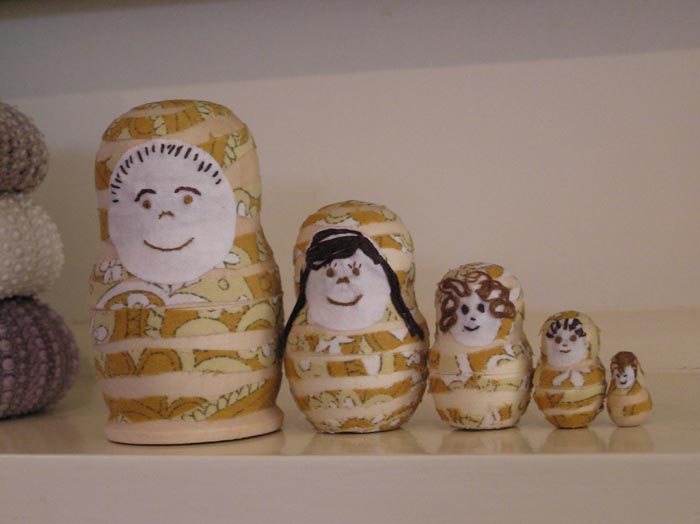
Matryoshka...
How to make an embroidered carry all

How to iron embroidery...

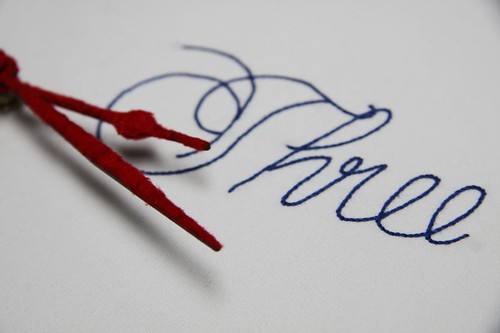
How to turn a photo into an embroidery design...
Re-stash...

Return calls...
My creative space...
Pucker up...
Thinking cool...

Handmade Music Box...

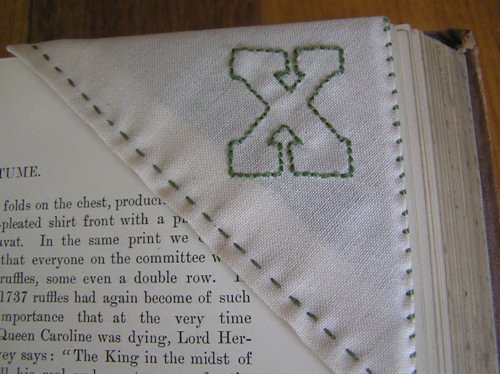
How to make a corner bookmark...
Handmade laptop stand...

Feeling Festive...

On my desk...

Knowing your limitations...

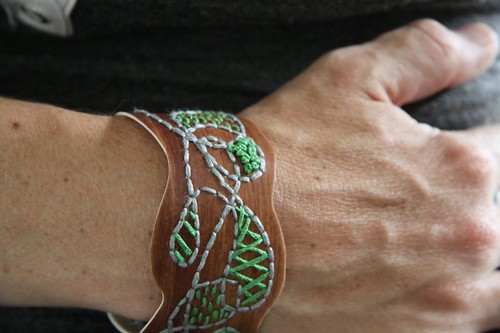
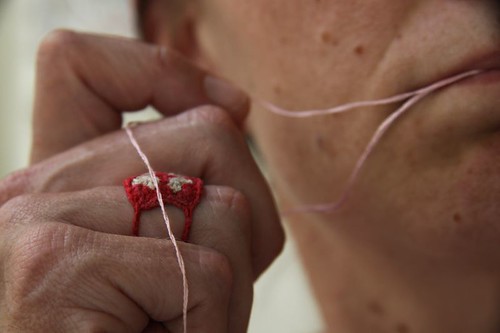
Embroidered cuff...