Sweet Fabric
[
Search results for super 8
]
How to ... 5 things to make from a pillowcase
Making Memories...
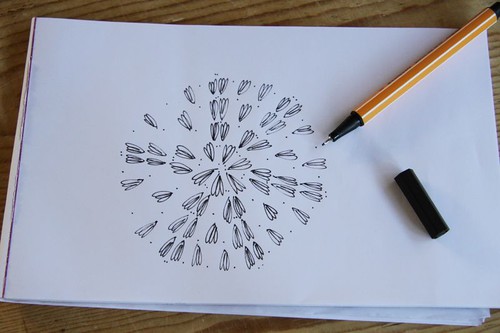
How to make a granny shrug...
Do you speak crochet?...
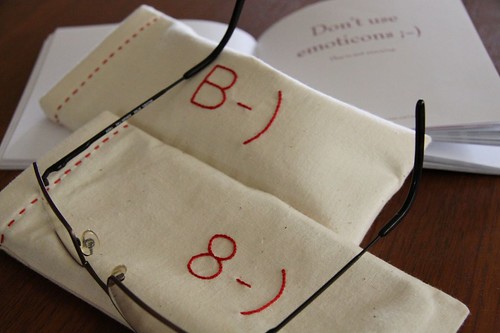
Emoticon glasses cases...
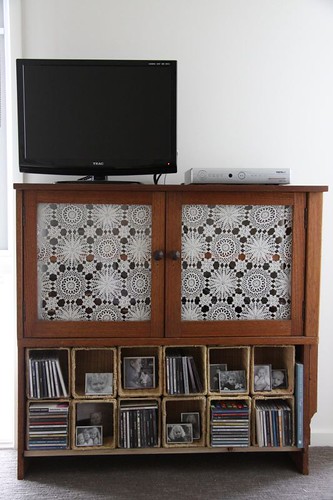
Crochet & timber...
HAC craft roundup...
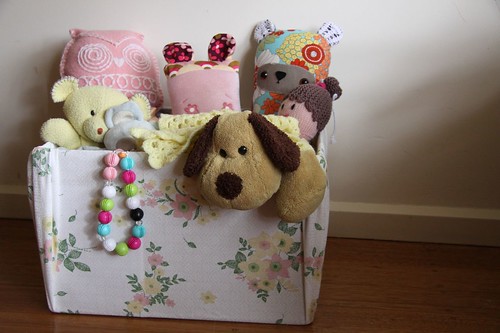
Fabric covered toy box...