Sweet Fabric
[
Search results for guide
]
The other "me"...
Lazy girl's guide to laying out a "quilt"...
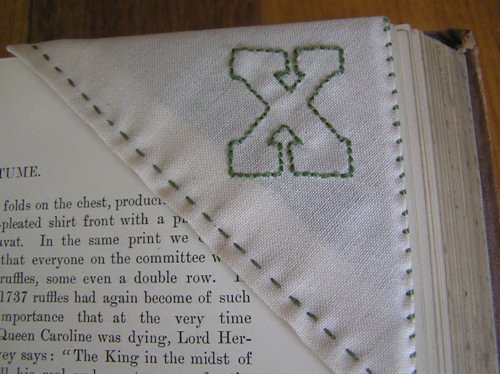
How to make a corner bookmark...
This is...my favourite travel memory
How to - casual crafty upstyling...
On my desk...
What I'm wearing...
Have I told you lately...
Would you think I was crazy...