Sweet Fabric
[
Search results for inside running
]
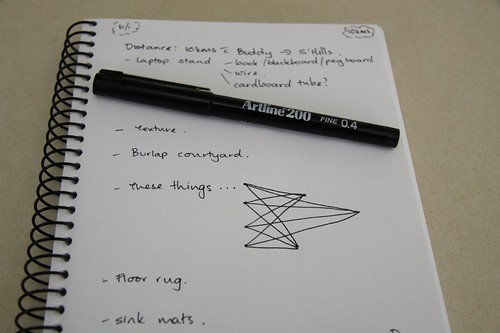
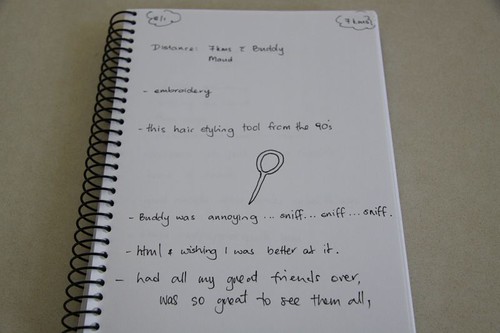
Inside running...
Bossy mates are the very best...
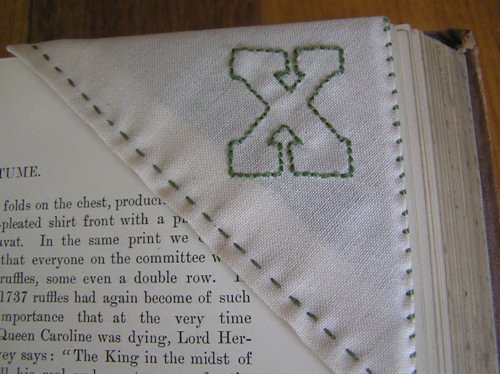
How to make a corner bookmark...
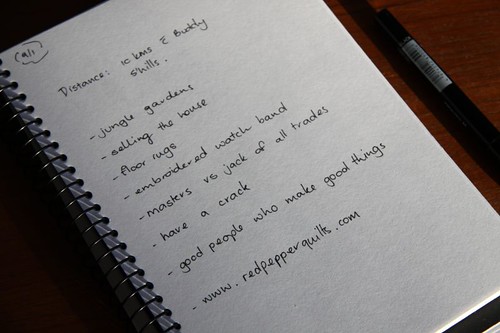
Good people...
Two weeks off is too long...