Sweet Fabric [Search results for Wood]
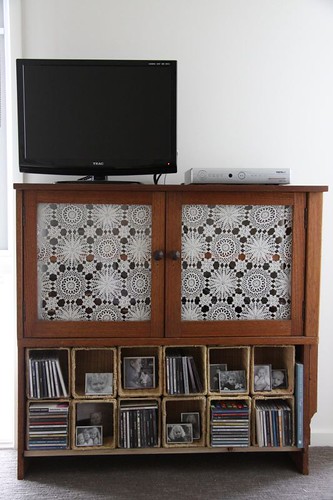
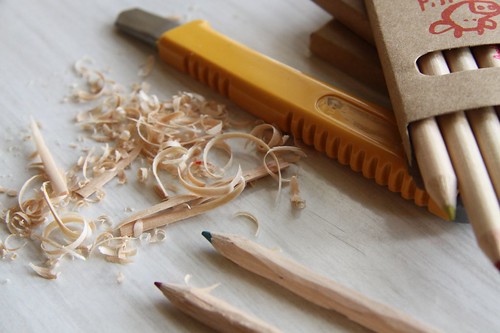
I like wood...

Mud stencil on wood...

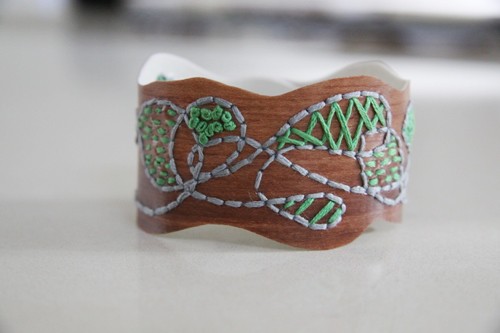
How to make a wrist cuff - faux wood & embroidery...
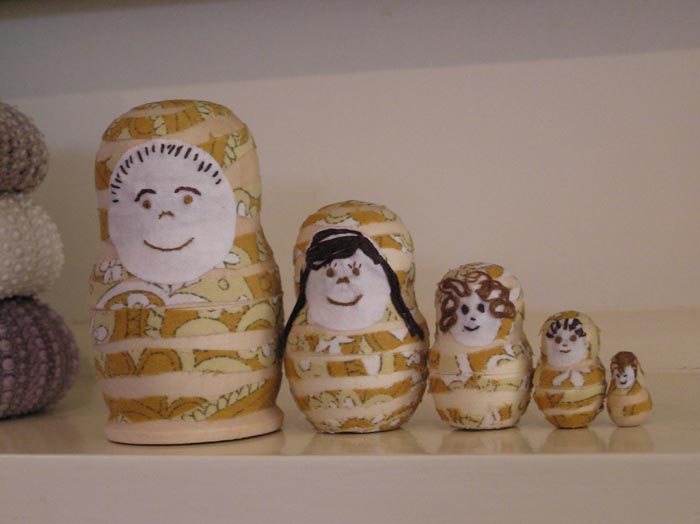
Matryoshka...
5 faves...

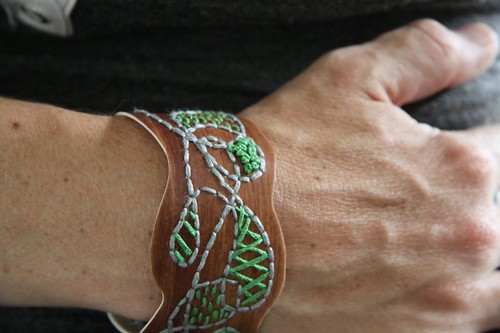
Embroidered cuff...
Two roads...

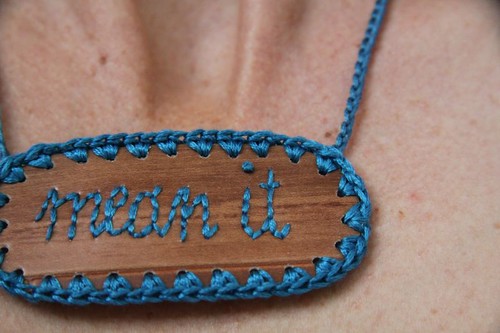
Say it like you...
Words & pictures...rainy day

Crochet & timber...
Op Shop til you drop...

No time...

Want not...
It's not poisonous...


