Sweet Fabric [Search results for HAC]
HAC craft session...

HAC & relax...
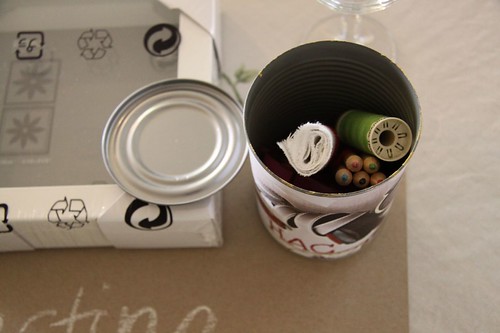
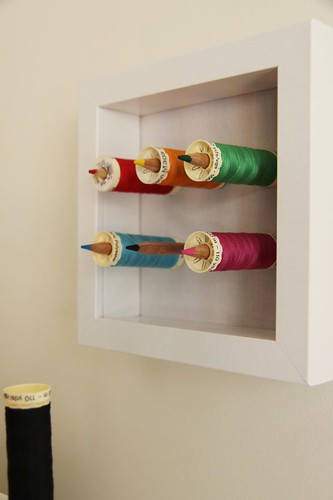
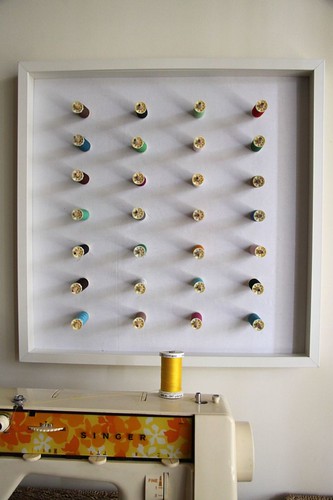
HAC workshop - spool holder...

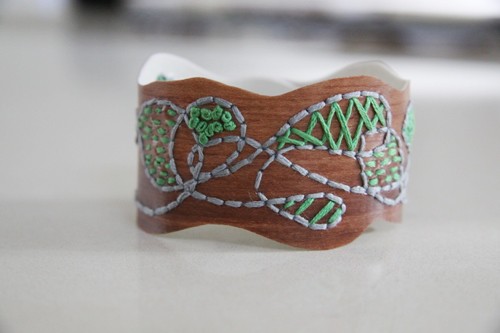
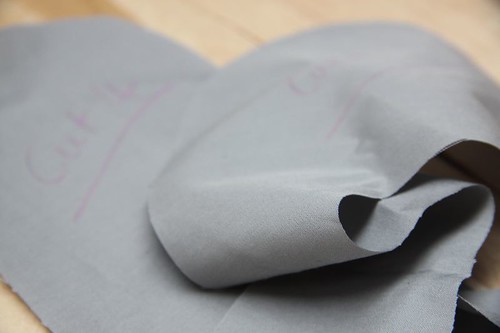
How to make a wrist cuff - faux wood & embroidery...
How to make a granny shrug...

HAC craft roundup...

Shaping up...
Handmade laptop stand...

My creative space...

HAC circles...

Putting my new toy to good use...
How to make a reversible placemat cover...
An invitation...

Crafty lazy susan...

Spool holder...
My creative space...

HAC craft session...


