Sweet Fabric [Search results for project]
The quilt project...
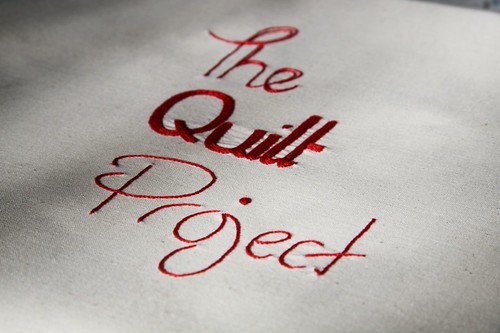
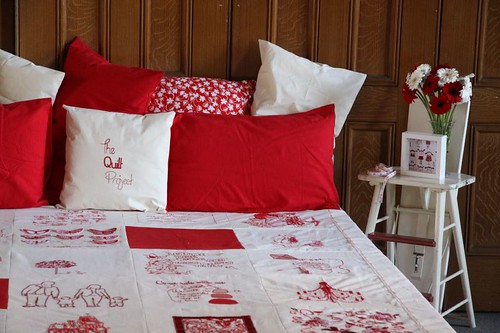
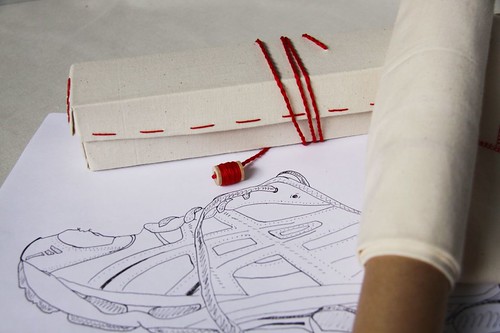
The Quilt Project...
Scruncher or folder?...
How to ... 5 things to make from a pillowcase

The Quilt Project ...LIVE FOR ONE NIGHT ONLY...

The quilt project...
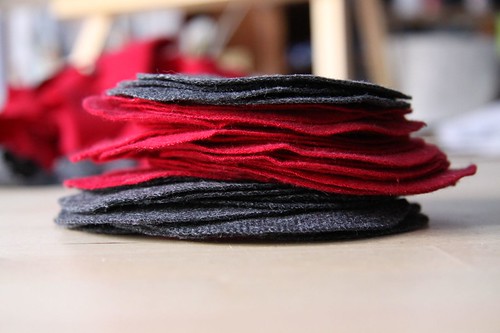
Felt Pincushion...

Something new...

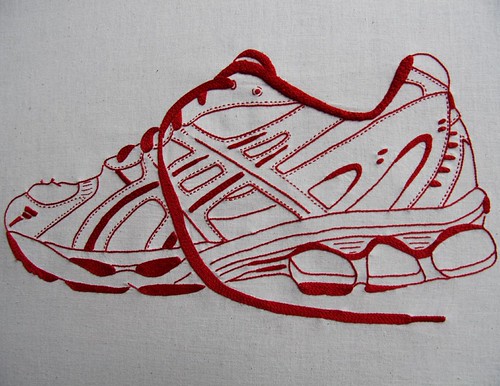
Hand art...

How to make a 3D scrappy quilt square ...

On my desk - the players...
The Notebook Project...

Honeymoon craft...

No time...

The plan...

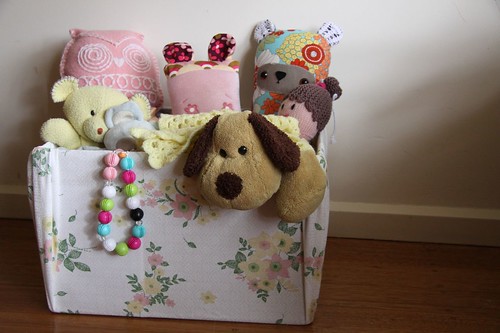
Fabric covered toy box...
More circling...
1st Heliers Street Abbotsford in Melbourne

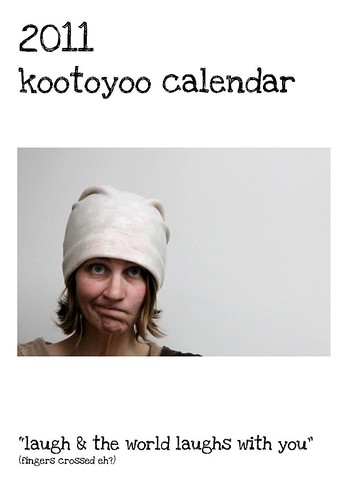
My 2011 calendar...
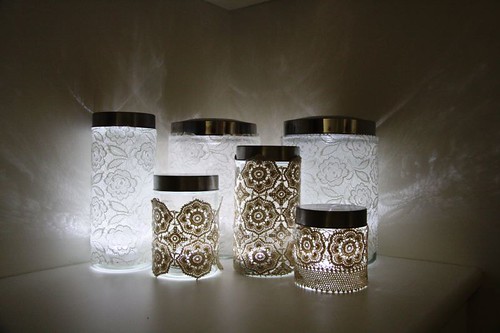
How to make pretty lights...