Sweet Fabric [Search results for how to]
How to make a granny shrug...

Excellent Crafty Tutorials...

How to ... 5 things to make from a pillowcase

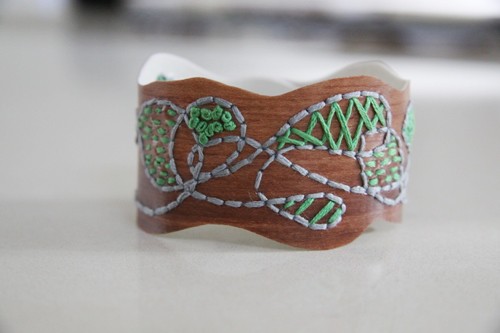
How to make a wrist cuff - faux wood & embroidery...
How to make a granny square necklace...

scheDUEL [The Rules]...
My stuff featured elsewhere ...

How to fold a fat quarter...

Return calls...
The low down on commenting...
How to - Embroidery on dark fabric...

How to - casual crafty upstyling...

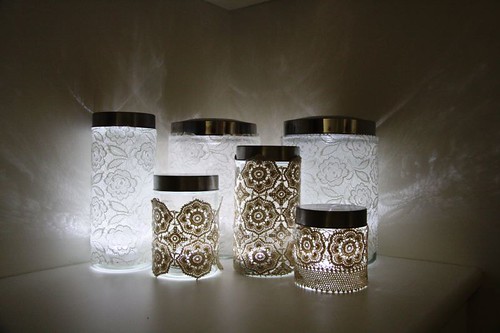
How to make pretty lights...
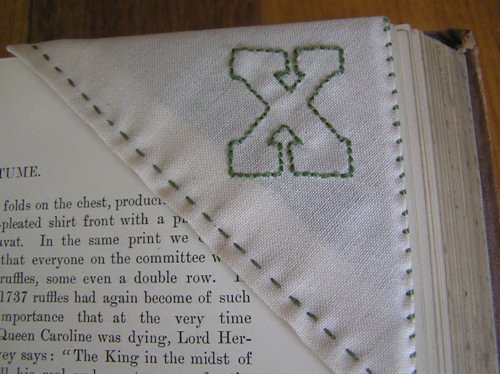
How to make a corner bookmark...
How to make an embroidered carry all

How to make a shoulder bag from a pillowcase...
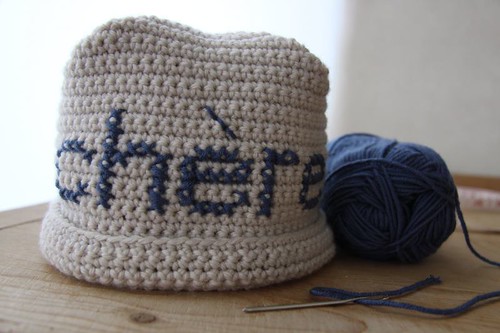
How to make a crochet & cross stitch beanie...
How to make doily covered soaps...

A quilt preview...
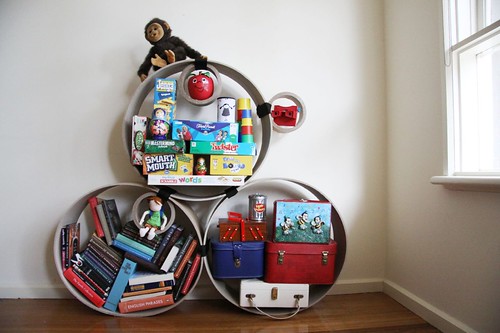
Make your own bookshelves for under $6...