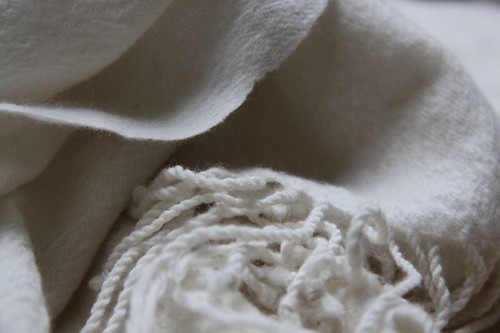
Sweet Fabric:
reverse art
Circled...
I just think of what I need...
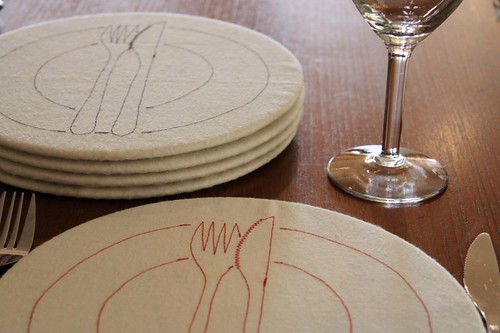
Reversible placemat cosy...
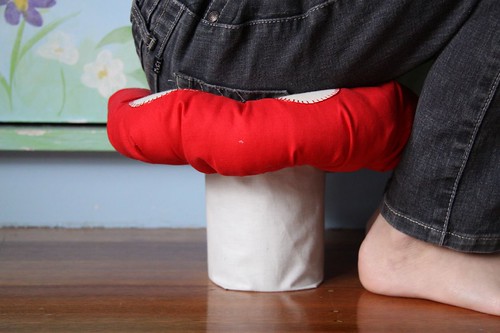
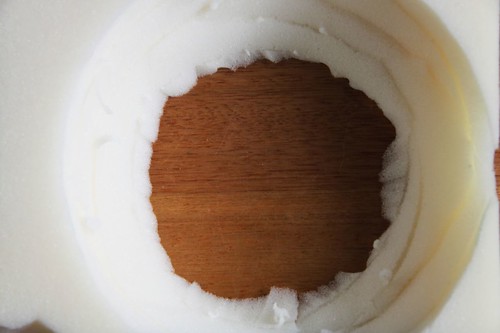
A toad stool...
Shoulda, woulda, coulda...
Crafty lazy susan...

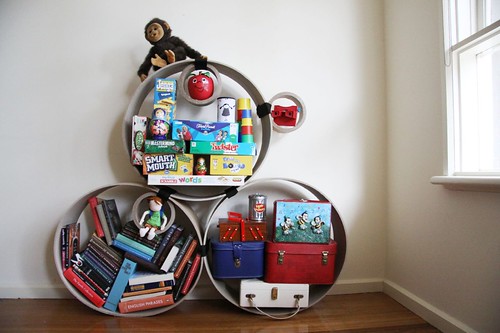
Make your own bookshelves for under $6...
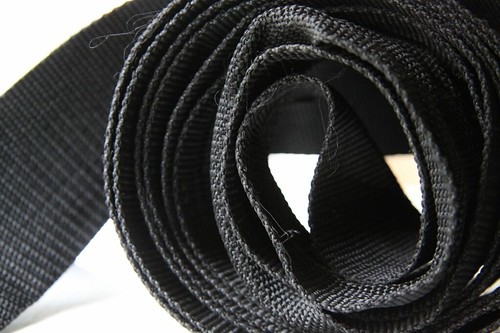
Buckle up...
The gifting spirit ...

How to: Simple Fabric Printing - Lacing Card Style...

Printing on fabric...


